Photo Book Design

When choosing the design for my photo-book, I wanted a style that would compliment all of my photography and be simple and professional looking. I first chose the typography styles, and then decided to go with a white minimalist and modern design style. This choice makes my photography pop and be presented free of distractions.

I created these layouts using Adobe Photoshop and InDesign.

Cover Design: Front & Back

COMM300CoverSpread2

COMM300CoverSpread

Photo-book spread

SarahHibbert.LandscapeSpread.


Professional PageSarahHibbert.ProfessionalSpread


Table of Contents PageSarahHibbert.TableofContentsSpread


Looking at Landscapes

When looking at a landscape and how I want to capture it, my approach takes one specific direction. I always consider the colors and composition, but first I consider my personal connection to the landscape. Only after thinking of that, do I look for the “good shot.” In this post I show this technique, first with images from the area surrounding my hometown, Pocatello, Idaho, and then with some images I took on a vacation to Phoenix, Arizona, and last, with some pictures of Rexburg, Idaho, where I attend school now.

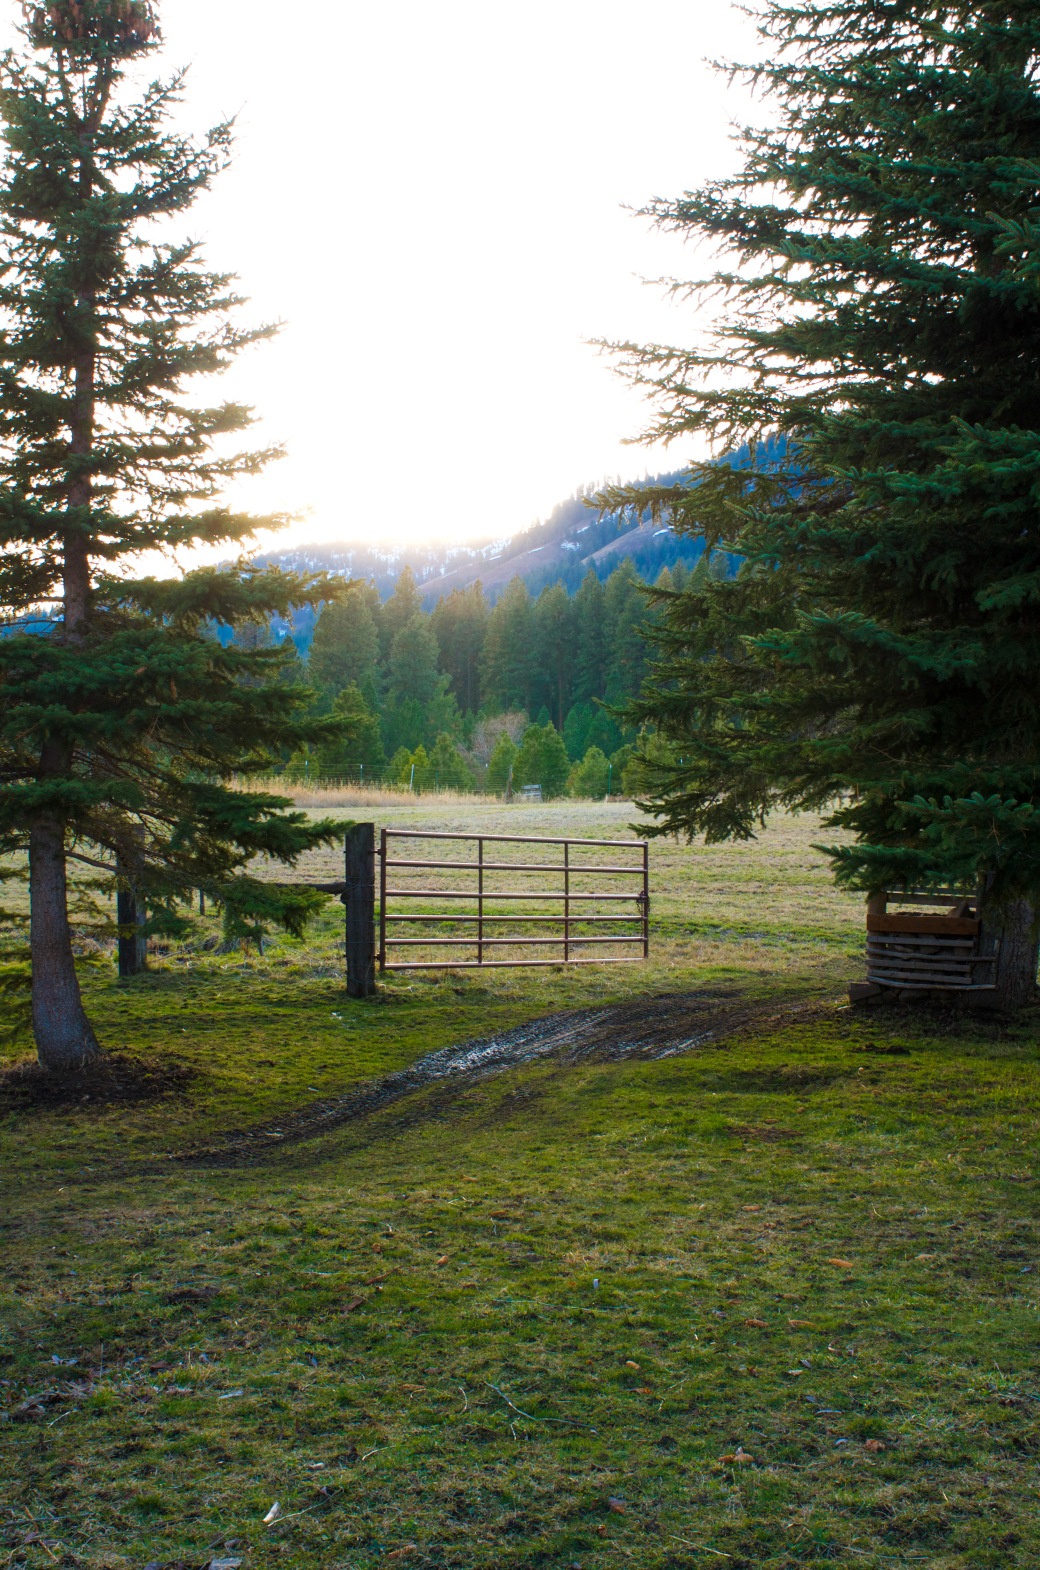
Pocatello, Idaho, Valley

SarahHibbert.Landscape._02SarahHibbert.Landscape._05SarahHibbert.Landscape._0620160213-DSC_1129

Panorama

SarahHibbert.Landscape._04Pano

Phoenix, Arizona, Saguaro Lake
20150523-DSC_215320150523-DSC_2168
Rexburg, Idaho, In Town and surrounding area

20151107-DSC_277820151026-DSC_1942 20151026-DSC_205920150529-DSC_2296 20150529-DSC_2366

All edits on these images were done in Adobe Photoshop and Adobe Lightroom.

Bannack Best: Portraits

A trip to Bannack Ghost Town in Montana on Friday provided for several opportunities to take amazing portraits. We had amazing models and great weather. Each of the following pictures we made with different processes, so I will explain each individually.

SarahHibbert.Portrait.01resizedThis picture was taken in the town’s school house using an Einstein strobe and natural window light. Post production editing was done in Adobe Lightroom.

SarahHibbert.Portrait.02resizedThis portrait, one of my favorite from the shoot, was taken using a gold reflector and natural window light. Post production editing was done in Adobe Lightroom and Adobe Photoshop.

SarahHibbert.Portrait.03resizedThis picture was taken inside the Saloon using an Einstein strobe. It was converted to back and white, post production in Adobe Lightroom.

SarahHibbert.Portrait.04resizedThis picture was taken outside the Hotel, and only natural light was used. Post production editing was done in Adobe Lightroom.

SarahHibbert.Portrait.06resizedThis photo was taken in a back room in the Hotel using an Einstein Strobe. Post production editing was done in Adobe Lightroom.

SarahHibbert.PortraitGhost.01resizedThis “ghost” picture was taken in one of the kitchens of the old houses using natural light. The exposure on this photo was 4 seconds long, and I had my model, Melannie, move out of the frame after posing in one place for one second.

SarahHibbert.PortraitGhost.02resizedThis “ghost” picture was taken in one of the kitchens of the old houses using natural light. The exposure on this photo was 4 seconds long, and I had my model, Melannie, move to a new place in the frame after posing in one place for one second. This created an effect where she is exposed in two places in the picture, once in the back, and once in the foreground.

Reflector Exploration

Reflectors can be a game-changing tool if used correctly in outdoor or indoor portraits.

I took these pictures of Erin outside on Thursday, and used several different techniques with a 5-in-1 reflector. I will explain the specific process below each picture.

SarahHibbert.whitereflector-1 SarahHibbert.whitereflector-2

First, I took these two pictures with the same pose, in the same light, the only difference is that in the second photo, I used no reflector and in the first, I had someone holding the white colored reflector to bounce the light from the sun onto her face. The highlights are a bit brighter, and the shadows on her face are considerably lower.

SarahHibbert.blackreflector-1In this photo, I used the black filter as a shade for this pose. I had the reflector held over her with the black side facing down. I wanted to get a darker look for this image. It darkened her skin highlights compared to what it was without it.

SarahHibbert.goldreflector-1In this picture, I used the gold colored reflector, which turned out to be my favorite. The gold color warms the light that is reflected into the portrait, which made Erin’s skin tones much warmer and inviting. It also effected the highlights in her hair.


Close Up and Personal

For this assignment, I used a 10x Macro lens filter and an LED light that I checked out from the Communication Department Production Office. For the two images with water drops, I used fruit as my subject. First, I loved the surface of the apple, so I placed two water drops on it using my finger. I then had my friend Olivia hold the LED light in a way that the drops had highlights and the apple was illuminated. For the second water drop picture, I balanced an orange straw between two cups and placed an orange, lime, and lemon behind the drop. I was able to capture the colors of all three of the fruits in the drop.

For the two close up pictures with no water drops, I used the LED light and the 10x Macro lens filter as well. In the picture of the eye it took several tries to get in focus, but I was happy for how it turned out. For the picture of the Taco Bell Verde sauce packet, I wanted to capture something I love, and I had fun composing this shot so that the words were the focal point and in focus.

SarahHibbert.AppleSarahHibbert.LemonOrangeLimeWaterDrop

SarahHibbert.Eye SarahHibbert.HotSauce

Photobook Design

SarahHibbert_PhotobookSpread

First, I created a sketch of my design idea for the spread. Then I began making this InDesign spread by setting up a document with facing pages with the required dimensions for a photo book. I then placed the photos on the pages, following the ¾ inch margins and referencing the sketch I made. I picked the fonts to contrast and compliment the pictures. I used the rectangle tool to make the corner elements and add repetition to the overall design.

Exploring Black and White Photography

Exploring Black and White Photography

I had the opportunity to visit the Museum of Fine Arts, Houston, today and snap some pictures of a couple of the exhibits. Once I took the pictures, I decided I would try something new and mess around with using black and white. Here is a small gallery of my favorite images. I am excited and personally love the way they turned out!

Because I was not allowed to use flash, and I didn’t haul a tripod on my day trip (I regretted that decision the second I stepped into the first dimly-lit exhibit), I had to experiment with different shutter speeds, the aperture, and ISO values.

I decided I loved the dramatic appeal of the black and white images. Plus, using no color embodies the spirit of one of my favorite quotes from Leonardo Da Vinci:

“Simplicity is the ultimate sophistication.”

Take a look!

Click on any of the following images to enlarge:


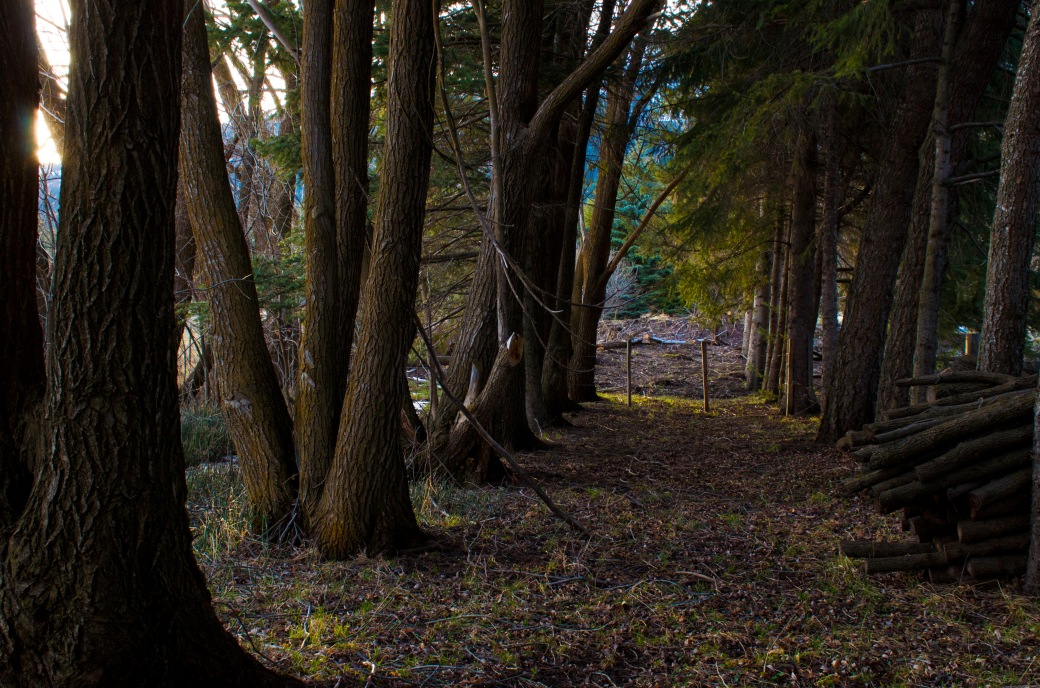
Trees


20150212-DSC_5571Trees

By Joyce Kilmer

I think that I shall never see

A poem lovely as a tree.

A tree whose hungry mouth is prest

Against the sweet earth’s flowing breast;

A tree that looks at God all day,

And lifts her leafy arms to pray;

A tree that may in summer wear

A nest of robins in her hair;

Upon whose bosom snow has lain;

Who intimately lives with rain.

Poems are made by fools like me,

But only God can make a tree.

_______________________

This poem is in the public domain.

Location of Photograph: Le Grande, Oregon


My First Newborn Photography Experience

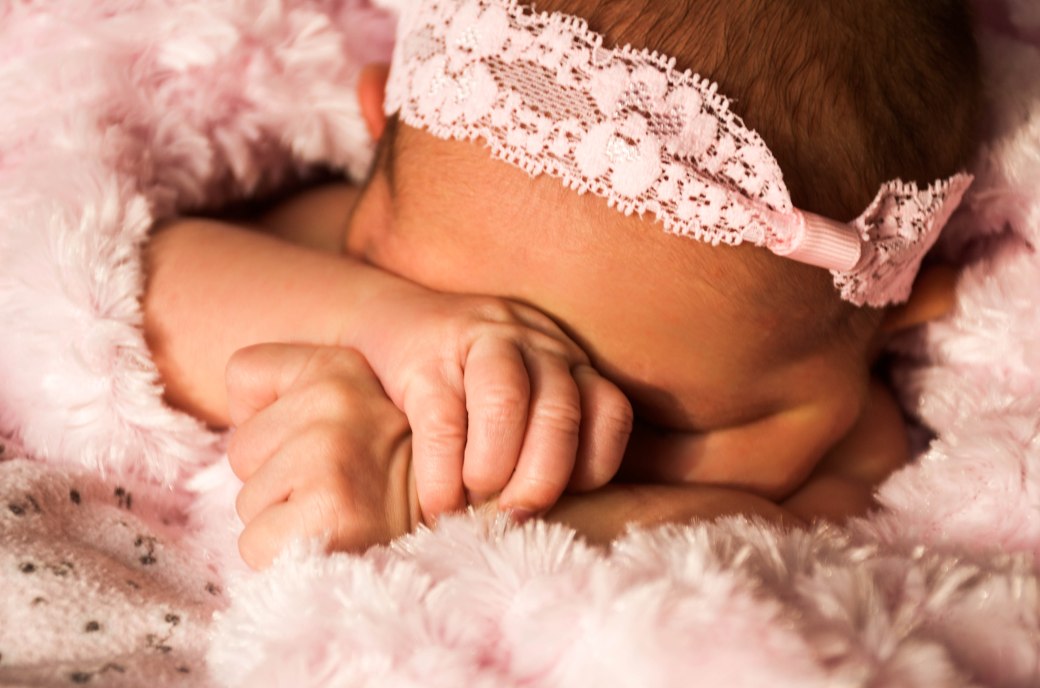
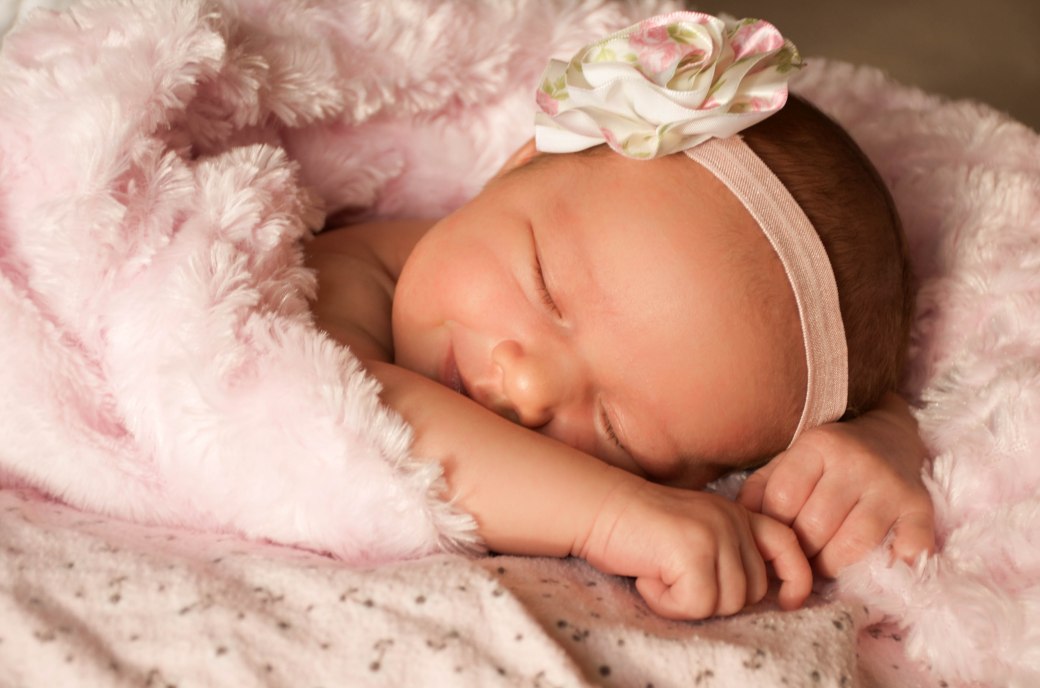
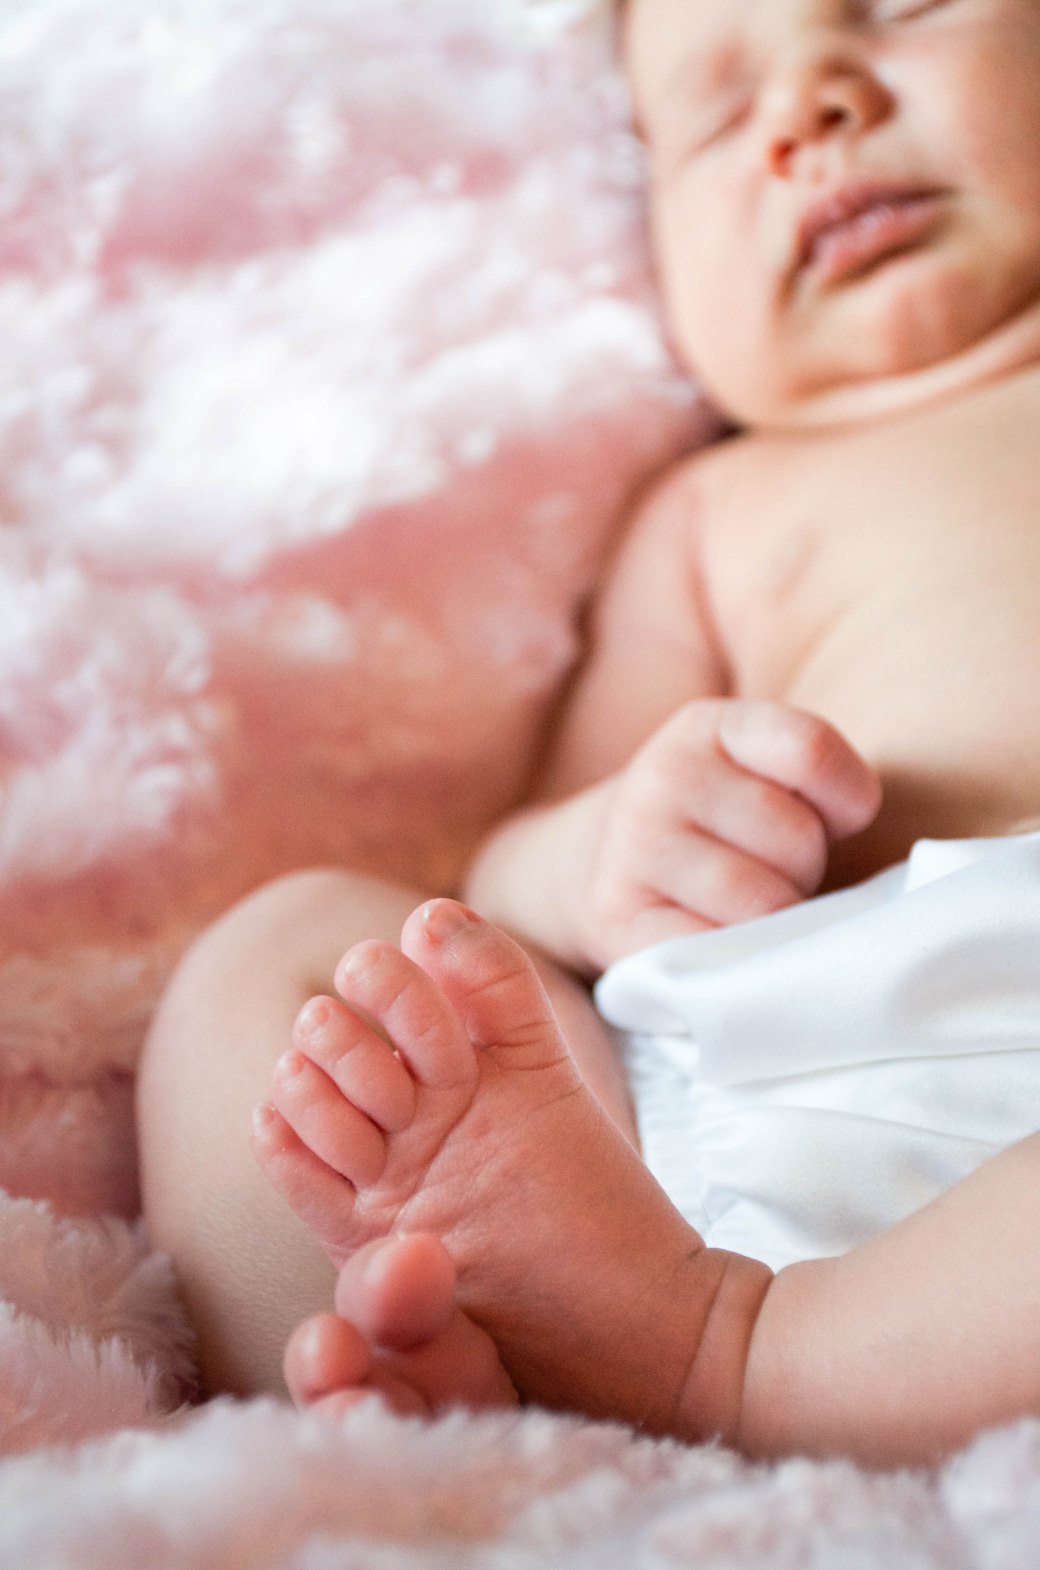
One of the most intimidating and challenging photoshoots that I had not done was take photos of newborn babies. With the birth of my sister in December, I knew I would have an opportunity soon. Sure enough, today we took out the fuzzy pink blankets and hair bows to see what I could capture. Here are a few of my favorite images from the sitting.

20150106-DSC_2489

20150106-DSC_2534-3

20150106-DSC_2675


I took these on my Nikon D7000 with my 18-140mm lens. I took them into Adobe Lightroom to make basic adjustments to the exposure, vibrance, and saturation.

What settings do you use to take photos of babies and children?